

Appearance
Billing & Plans
InfluDM plans are priced per Instagram account. You choose a plan, choose how many accounts you want to automate, and the price is the per-account price times that number.
This page explains how billing behaves once you're inside the app. For what each plan costs and what's included, see pricing on infludm.com — or how InfluDM compares to other Instagram automation tools.
Everything here is admin-only. Members can see the app but not change the plan.
Where to look
- Settings → Billing — your current plan, usage, billing details and payment history.
- Plans (the Upgrade button in the sidebar, or Change plan in Settings) — the catalogue and checkout.
The plans page
- Monthly / Yearly toggle. Yearly is priced at ten months — two months free.
- Account stepper. Set how many Instagram accounts you're buying. On a paid plan the stepper reads Accounts to add instead, and the purchase tops up your existing plan.
- Limited offer section. Promotional lifetime plans, where offered: pay once, no renewals.
- Redeem a code. Collapsed at the bottom — see Gift codes.
The free plan is permanent and needs no payment. It's the floor every workspace starts on.
Quotas and features
Each plan carries:
| Quota | Meaning |
|---|---|
| Instagram accounts | How many accounts you can connect, per unit of quantity you bought. |
| Contacts | How many distinct people your flows may reach. Cumulative — see below. |
| Team members | A yes/no feature. Where included, the number of people is unlimited. |
An unlimited quota is shown without a limit. Full mechanics in Plans, Quotas & Limits.
Contacts never come back
The contact counter only ever goes up. Disconnecting an Instagram account deletes its contacts but does not restore the allowance.
Checkout
What you see on the checkout page is what you're charged.
| Currency | Gateway | Notes |
|---|---|---|
| INR | Razorpay | Prices are GST-inclusive; the tax is shown broken out. |
| USD | PayPal |
Your currency comes from the workspace's display currency, set under Workspace & Team.
You're redirected to the gateway's hosted checkout, then back to a confirmation page that waits for the payment to settle — usually a few seconds. Don't close the tab while it's confirming. When it completes you land on Settings → Billing with the new plan live.
Cancelling at the gateway brings you back to Plans with a notice; nothing is charged.
Adding accounts mid-period
Buying more accounts while a plan is running is prorated: you pay the per-account price for the days remaining in the current period, not a full period. The new accounts are usable straight away.
Renewing
There's no auto-charge. You renew yourself, and the Renew button unlocks near the end of your period. Settings → Billing tells you the date it unlocks.
Renewing extends your current period rather than starting a new one, so paying early never costs you the days you've already got. If the plan has already lapsed, the new period runs from today.
Renewal is also where you change how many accounts you keep for the next period.
Downgrading accounts
Use the downgrade control on Settings → Billing to reduce the account count that applies at your next renewal. A banner then shows the pending change.
A downgrade below the number of accounts you currently have connected is refused — you have to disconnect the extras first.
If a plan lapses to a smaller allowance, the excess Instagram accounts are paused rather than deleted: their flows and contacts survive and automation stops until the allowance grows again. See Instagram Accounts.
AI credits
The AI features are billed separately from your plan. Your plan pays for Instagram accounts and automation; credits pay for the reading the AI does.
| Plan | AI credits | |
|---|---|---|
| Buys | Instagram accounts, contacts, team members | AI reading of DMs and comments |
| Billed | Per account, per period | Prepaid, per credit pack |
| Runs out | Accounts pause, automation stops | AI stops reading; flows are unaffected |
Credits reach your balance three ways: a starter grant when you sign up, an allowance included with a paid plan that tops up at every renewal, and credit packs you buy whenever you want more.
Buying a credit pack is not a plan change. It doesn't move your billing date, change your account allowance or touch your plan validity — it only adds credits.
Recharge from Settings → AI features → Buy credits, using the same currency and gateway as everything else on this page.
📸 Screenshot
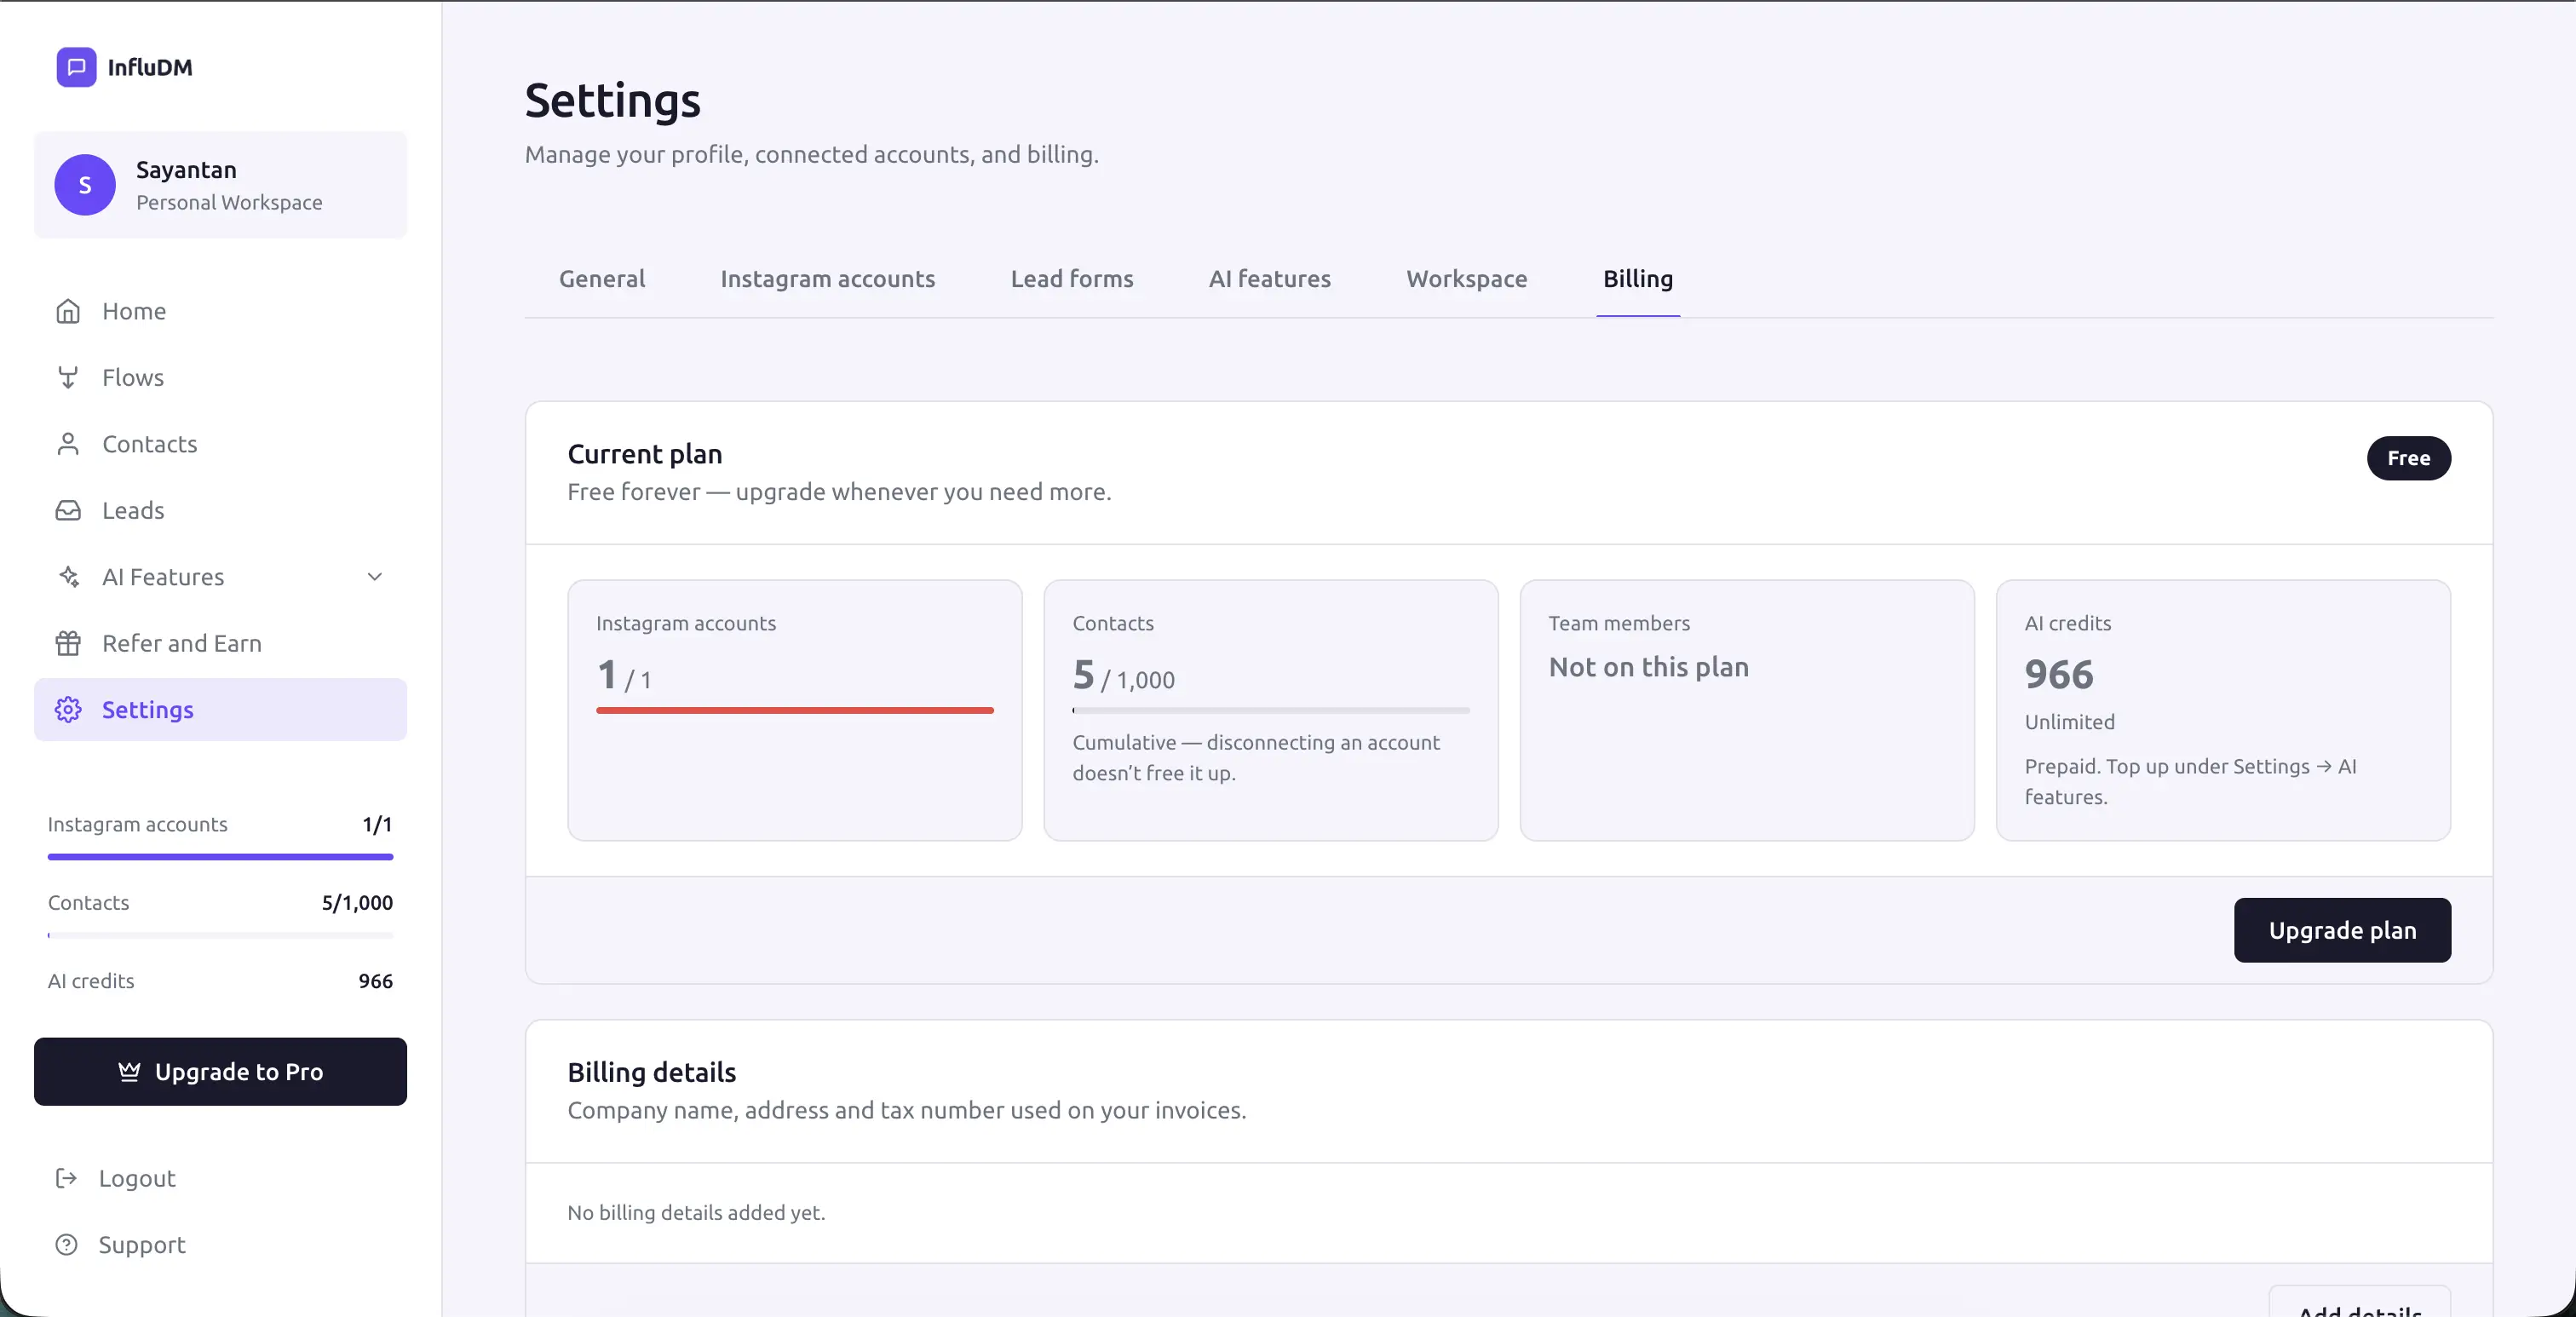 Settings → Billing showing the plan summary card with the AI credit balance displayed alongside it.
Your balance shows in the sidebar, on Settings → Billing, and on Settings → AI features — where you'll also find a usage breakdown split between comments and DMs.
Full detail, including how to keep usage down, is in AI Billing & Usage.
Gift codes
Single-use codes that grant a plan without payment (deal-site campaigns, support comps).
Redeem them from Plans → Redeem a code, or open a /redeem link you were sent — that page keeps the code across the sign-in detour and applies it once you're in.
As you type, the form previews what the code grants — plan name, number of Instagram accounts, and expiry (or lifetime) — before you spend it. Codes already redeemed are rejected with a clear message.
Billing details and invoices
Settings → Billing → Billing details holds your company name, address and GST/Tax number. These appear on invoices, so fill them in before your first payment.
Billing history lists every payment on the workspace: date, plan, number of accounts, and the amount charged with tax broken out.